 by
by Few months back I bought few CH32V003 chips (~25Rs=30cents each) from various sources. I didnt buy the programmer ,i found it was quite expansive for this 10 cents chip. So I started exploring these 2 programming options
https://github.com/aappleby/picorvd
https://gitlab.com/BlueSyncLine/arduino-ch32v003-swio
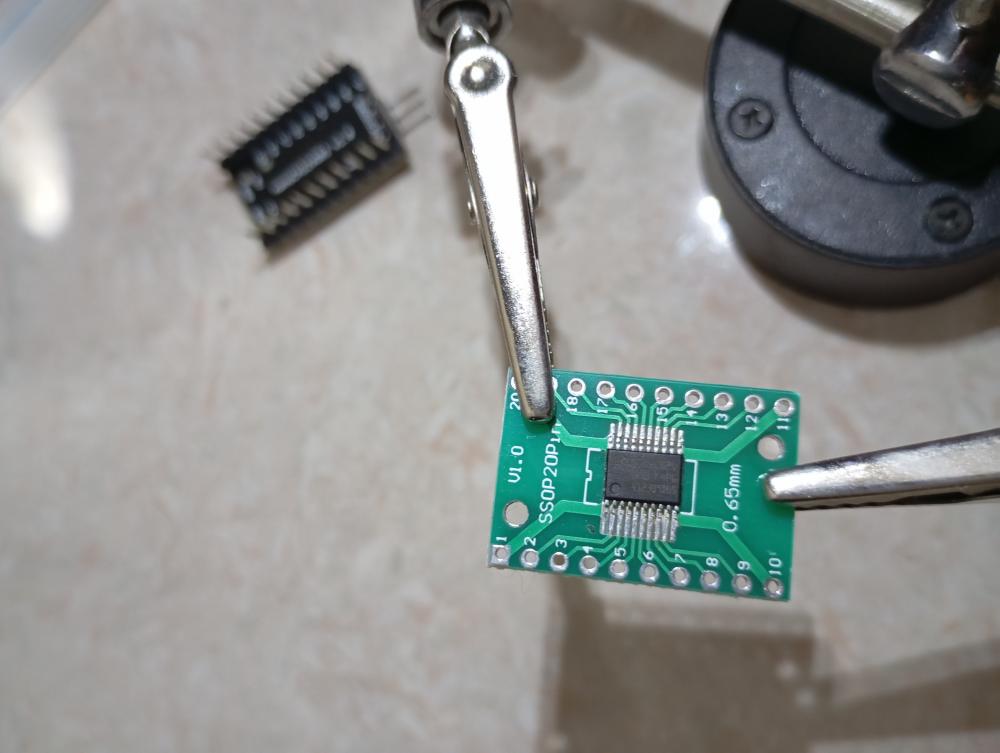
The picorvd worked on 2 boards , didnt work on another board.. (later found out it was due to soldering issue) arduino-ch32v003-swio – this one not exactly arduino , this requires the chip to be placed in atmelavr mode .. yes bootloader flashing is required , I have avr flasher but decided not to do that.
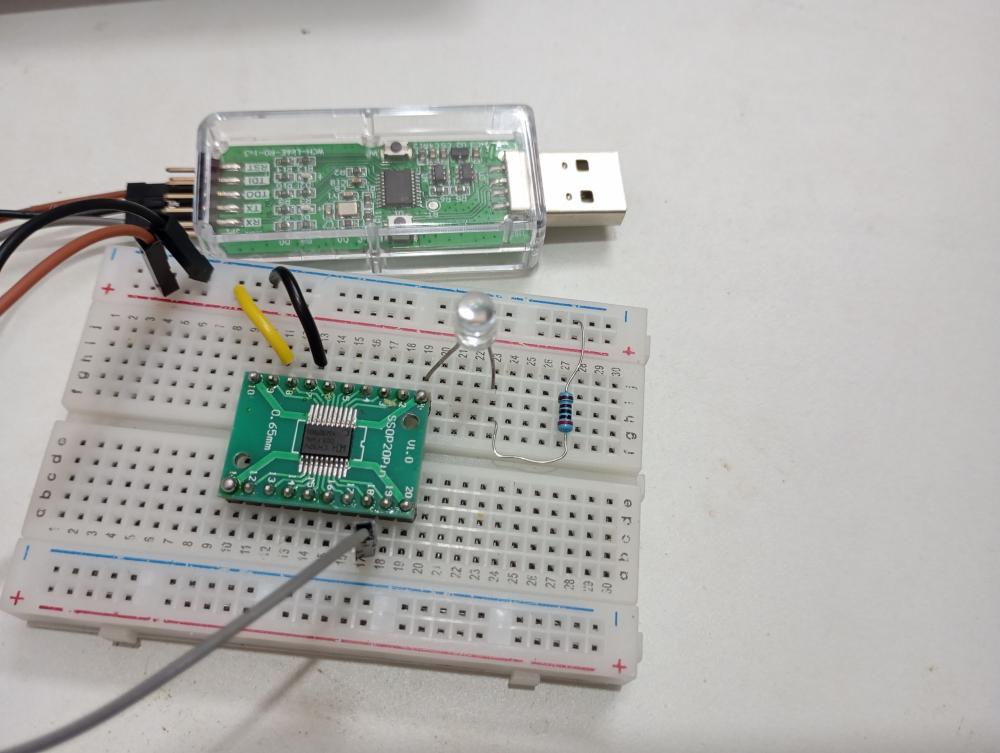
Then ordered the WCH-LinkE-R0-1v3 , it is expansive here (625Rs=7.5$ ) , I had one more project in my mind ,so decided to go with a full fledged debugger.
For compiler I used linux version ( MounRiver_Studio_Community_Linux_x64_V170 ) , Execute ‘start.sh’ in ‘before install’ directory.
Here is a simple code to blink LED
void GPIO_Config(void)
{
GPIO_InitTypeDef GPIO_InitStructure = {0};
RCC_APB2PeriphClockCmd(RCC_APB2Periph_GPIOD, ENABLE);
GPIO_InitStructure.GPIO_Pin = GPIO_Pin_4;
GPIO_InitStructure.GPIO_Mode = GPIO_Mode_Out_PP;
GPIO_InitStructure.GPIO_Speed = GPIO_Speed_50MHz;
GPIO_Init(GPIOD, &GPIO_InitStructure);
}
int main(void)
{
    GPIO_Config();
    while(1)
    {
        Delay_Ms(250);
        GPIO_WriteBit(GPIOD, GPIO_Pin_4, RESET);
        Delay_Ms(250);
        GPIO_WriteBit(GPIOD, GPIO_Pin_4, SET);
    }
}
you can find a detailed video here